Winter Sowing Instructions


Winter Sowing ~

  • Doesn’t require grow lights, grow shelves, a greenhouse or cold frame.
  • Doesn’t take up space in the house.
  • Produces strong, well-rooted seedlings.
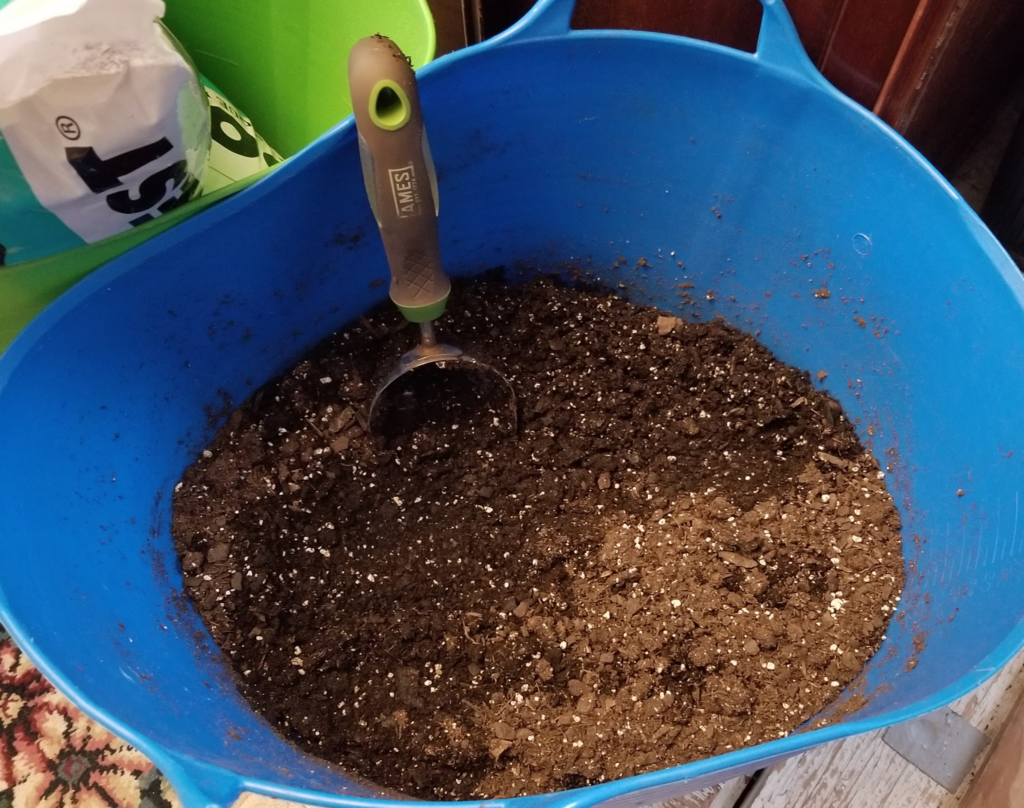
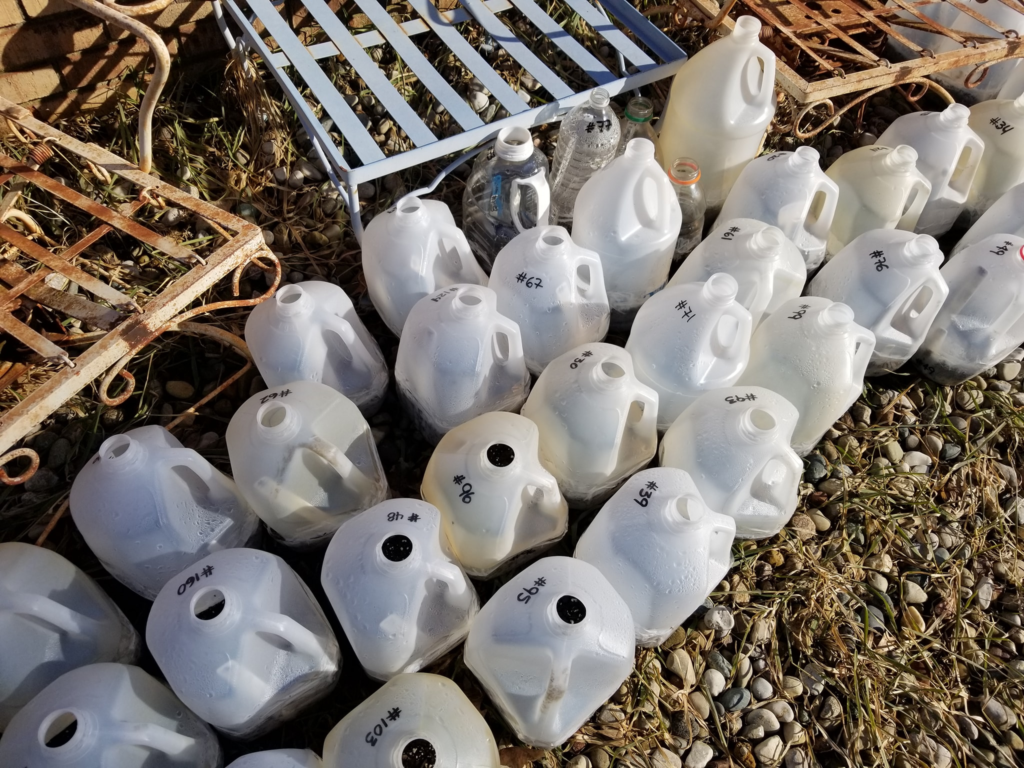
  • Can produce hundreds or thousands of seedlings without the need for pots, soil pods, seedling mats, or cell trays.
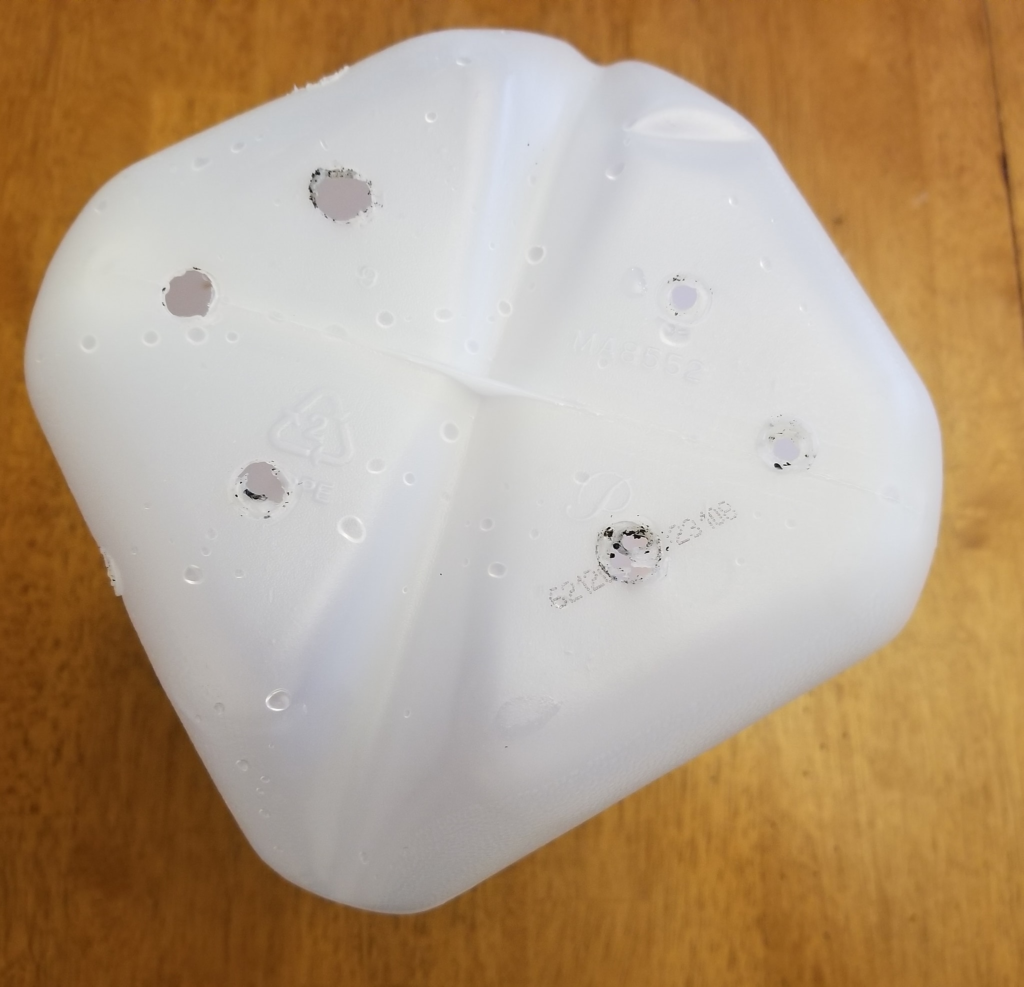
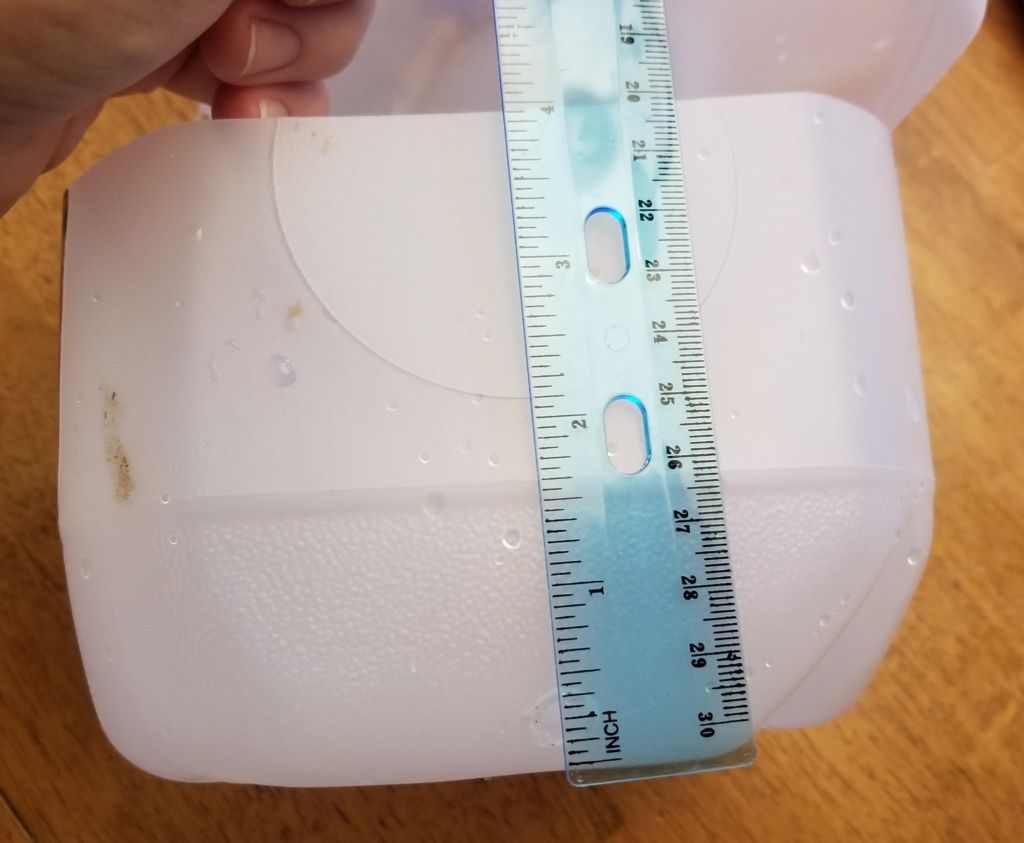
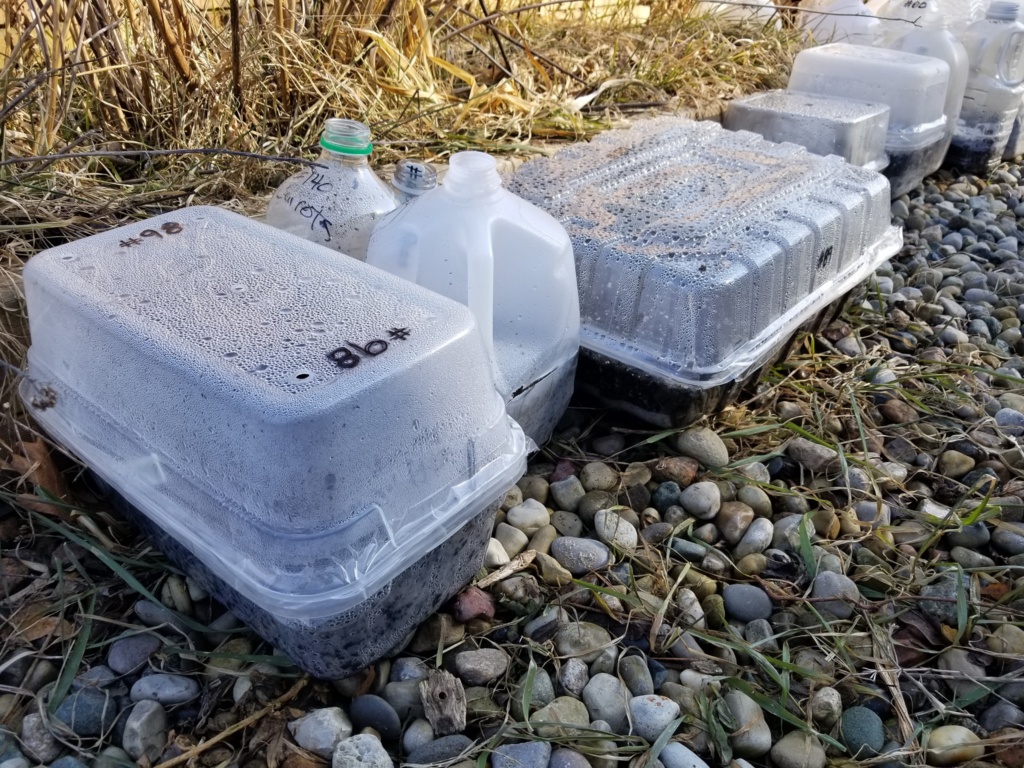
  • Does not require constant monitoring or watering . Water maybe a few times during the season if they are drying out – if the jugs feel light or there is no condensation on a sunny or warm day.
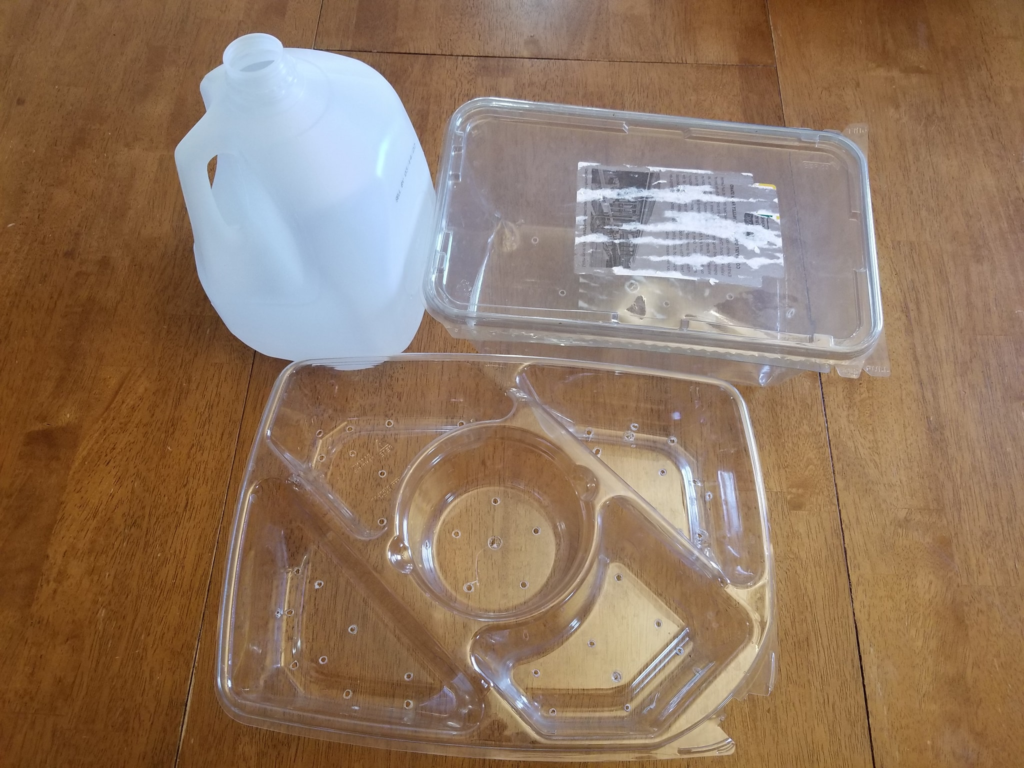
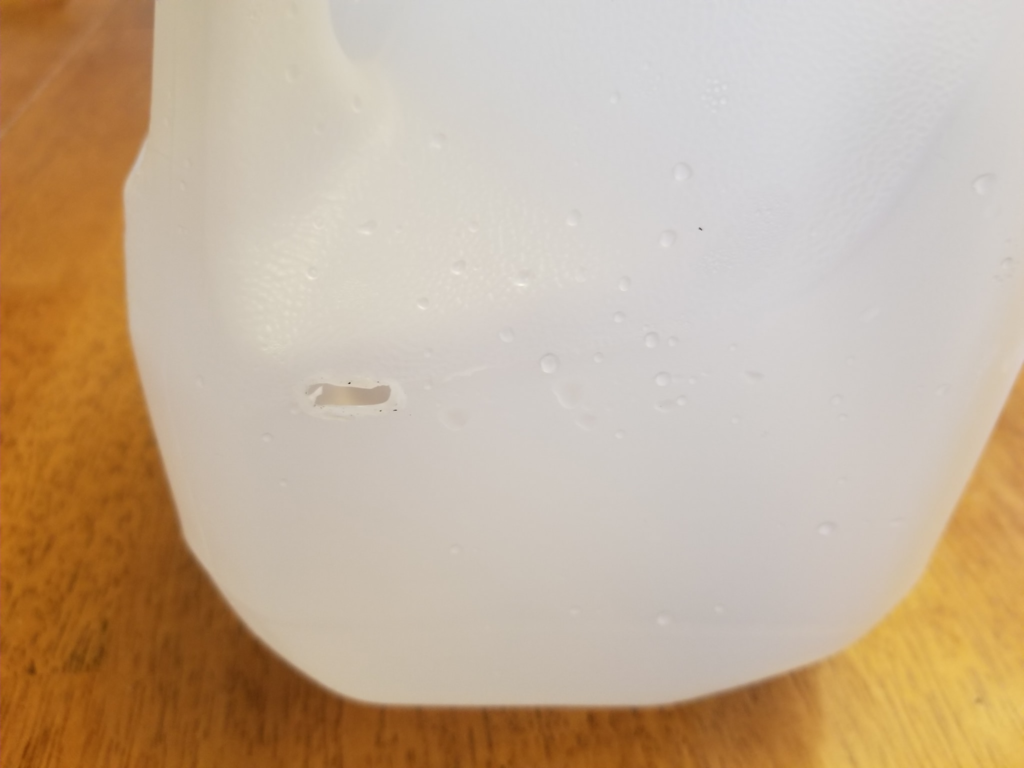
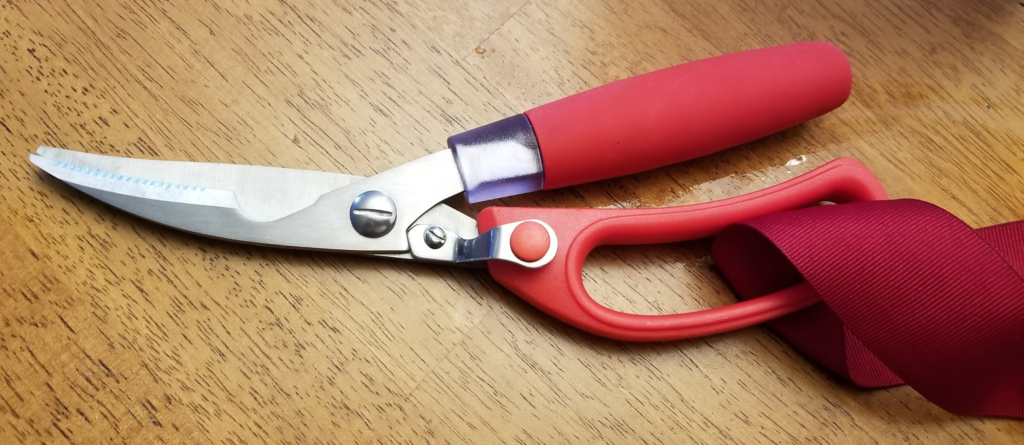
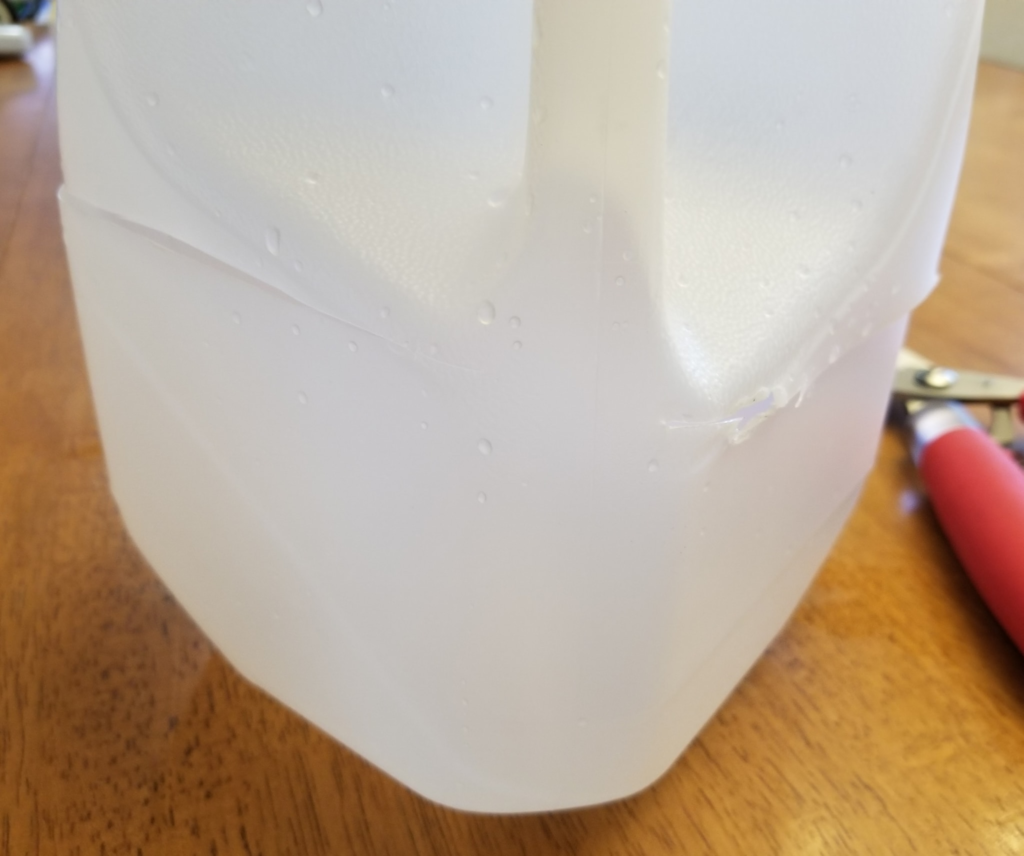
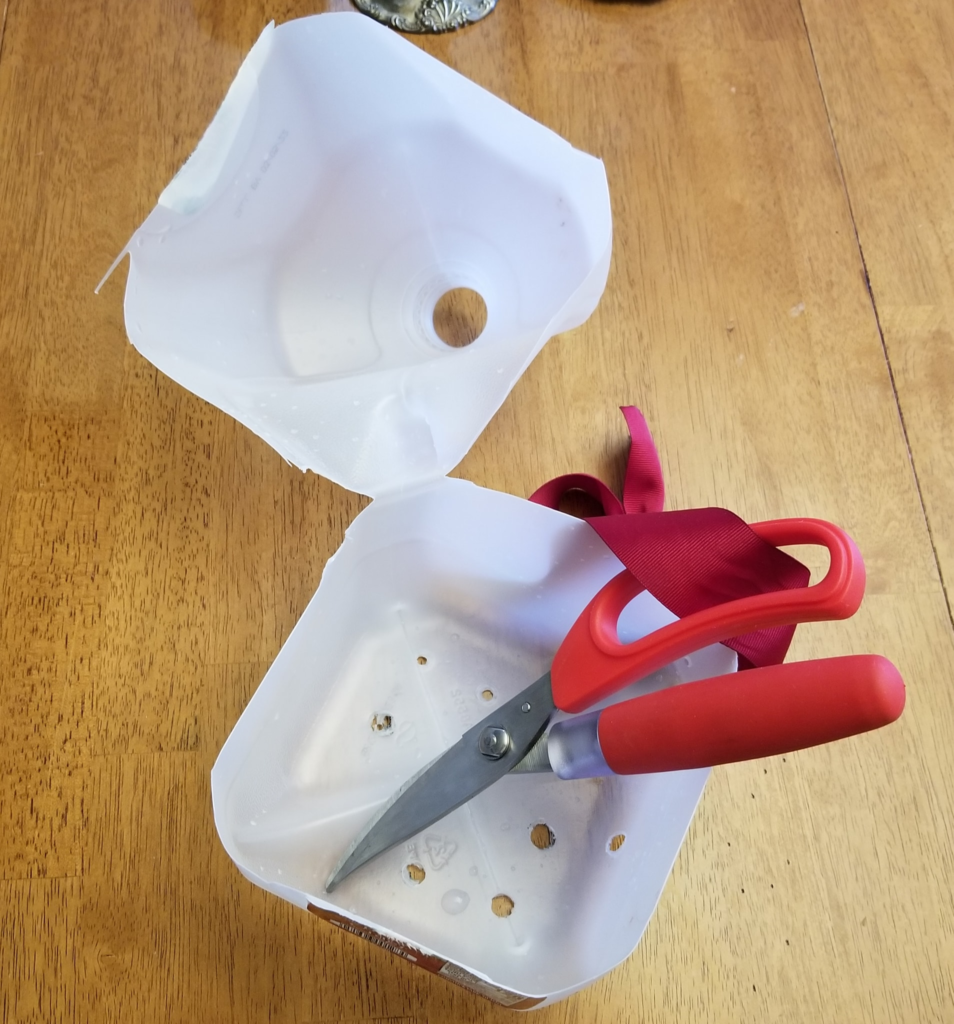
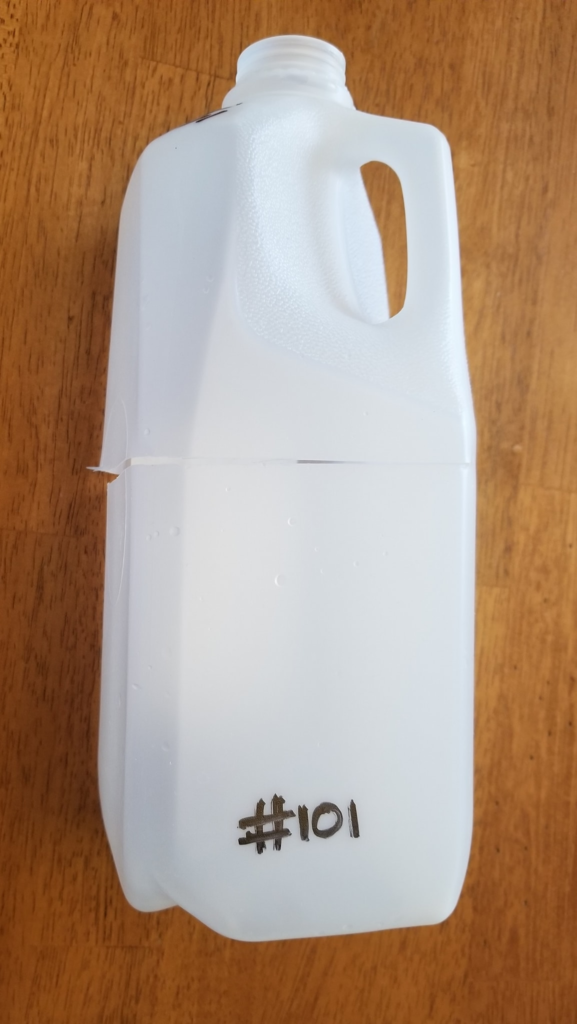
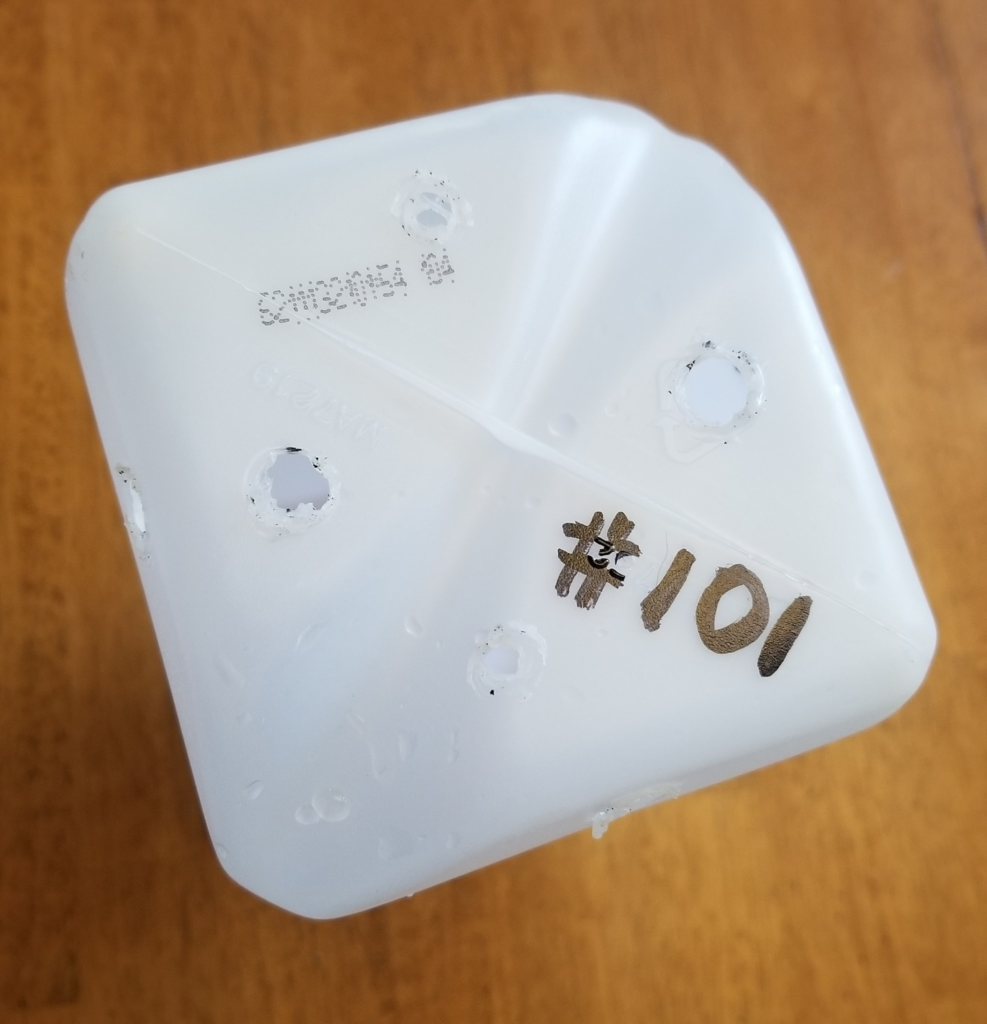
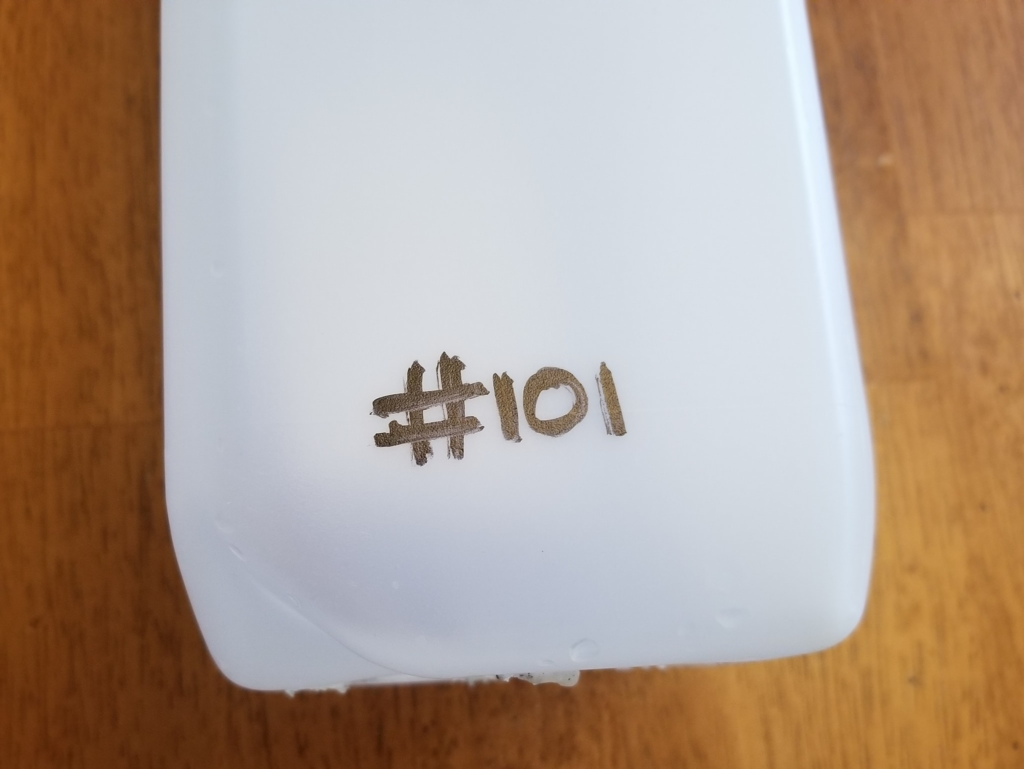
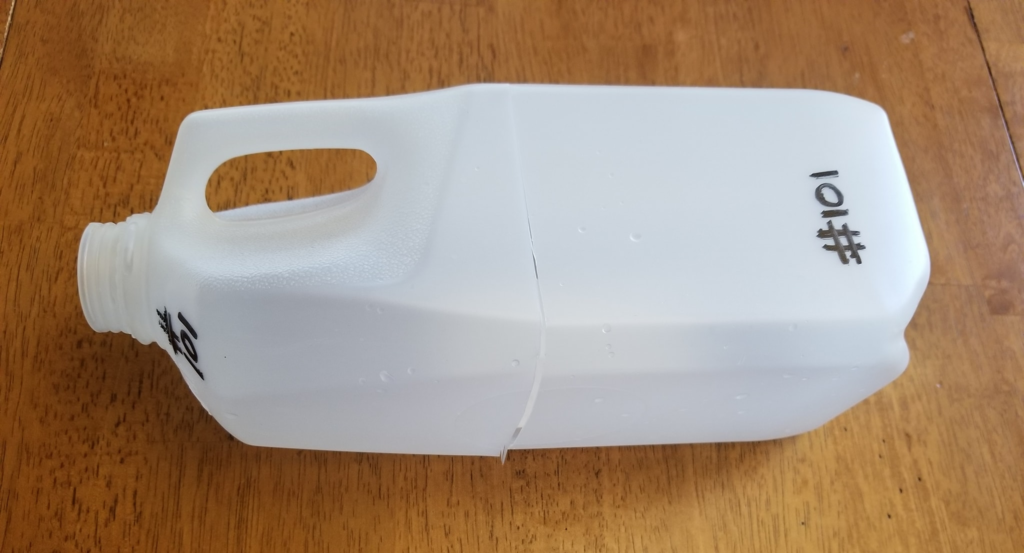
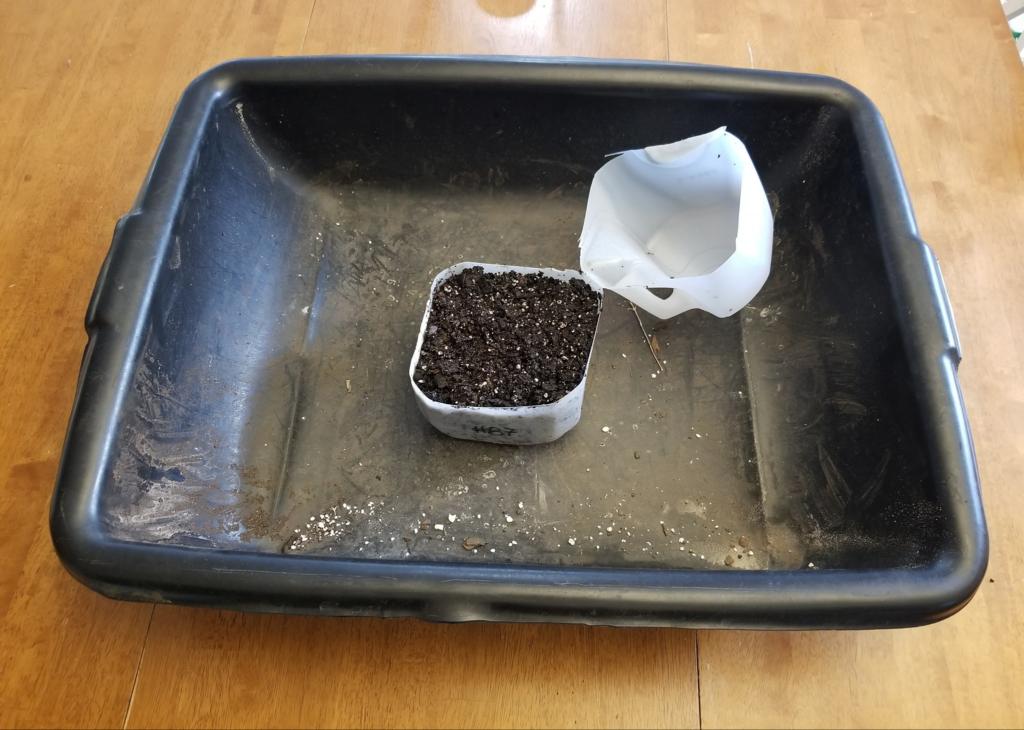
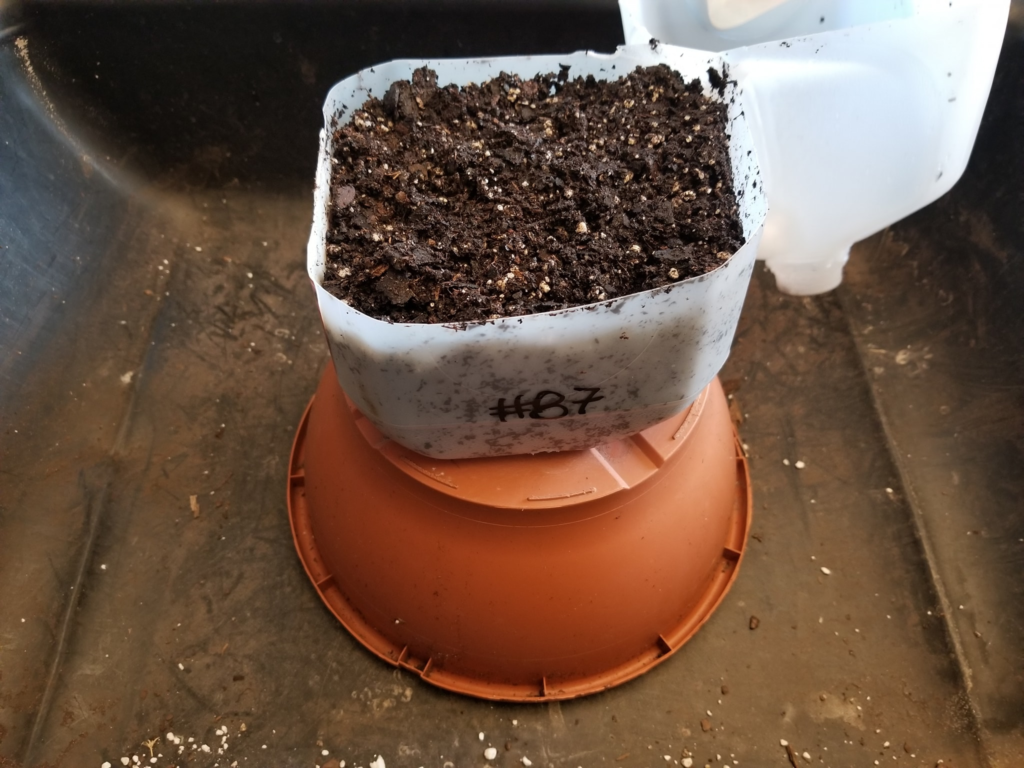
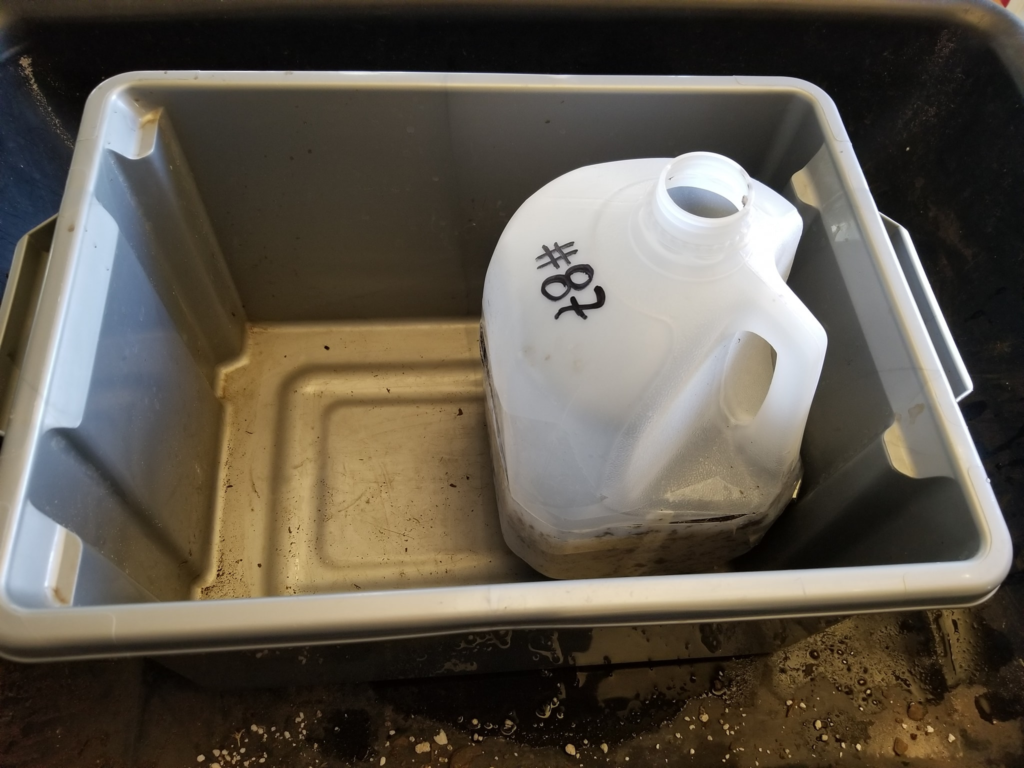
  • Uses recycled or any appropriate container.
  • Protects seeds from blowing away or being eaten.
  • Allows seeds to germinate when the temps are right.
  • Can be used for succession planting.
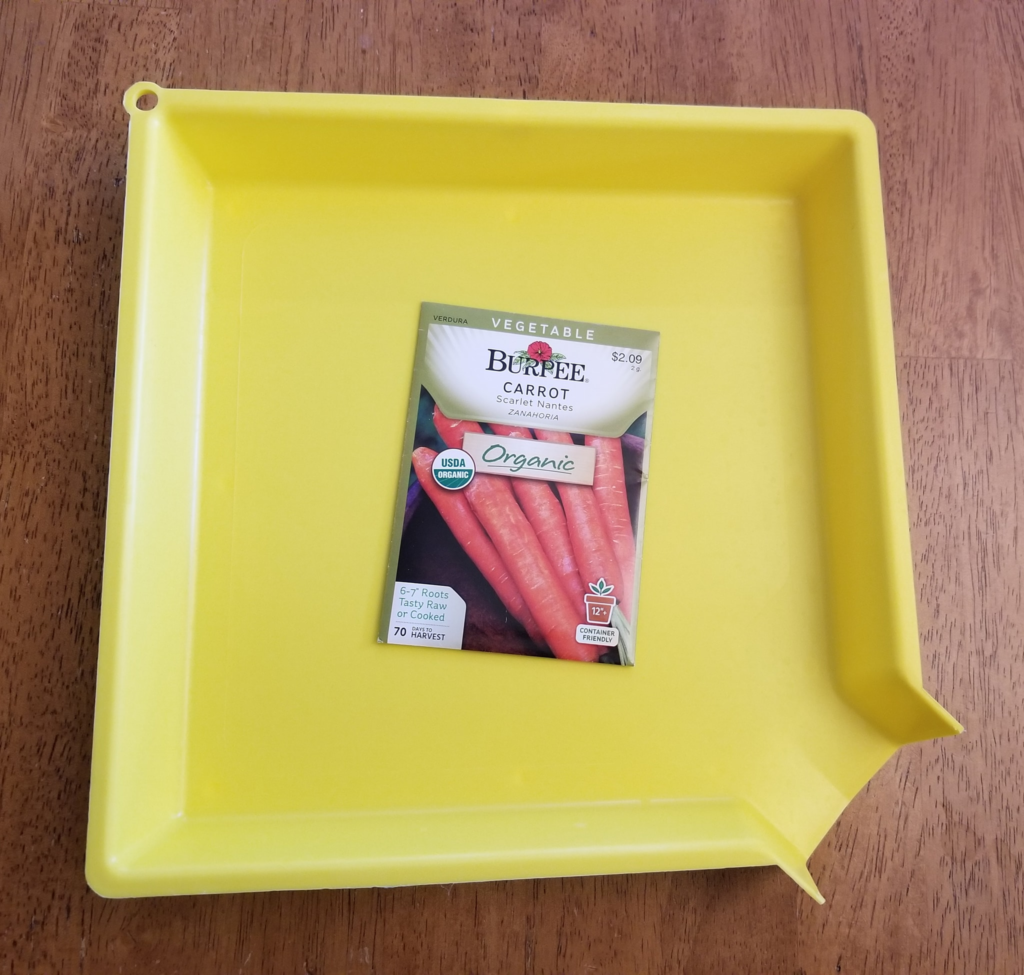
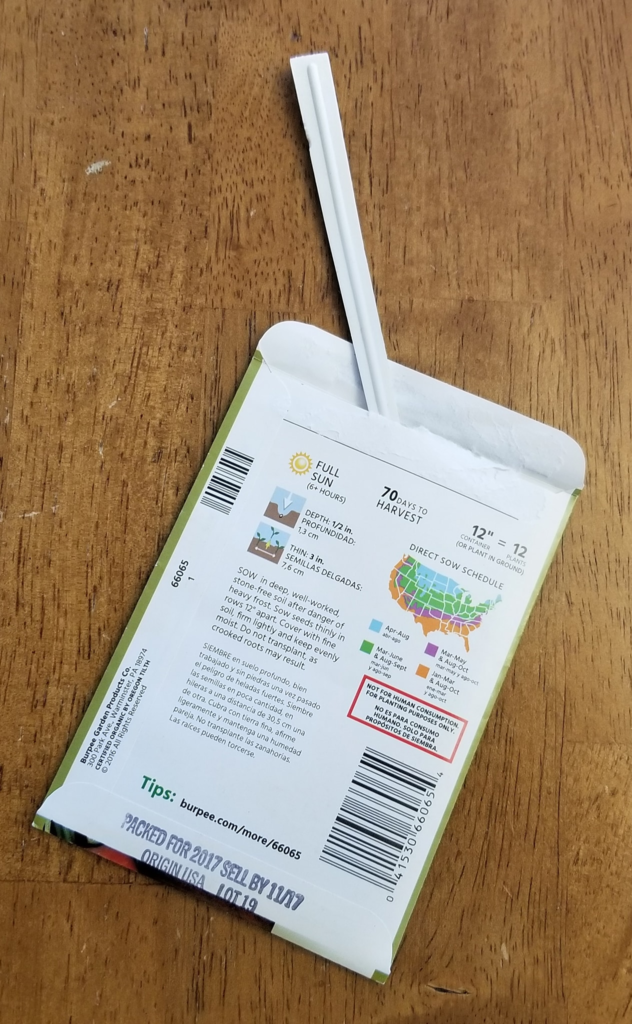
  • Is the perfect way to germinate seeds that need Cold Stratification or scarification. Check your seed packs and look for their cold stratification time requirements, for some this is a few months. Plant those first. I’ve been very disappointed when I go to plant some beautiful flower seeds like Delphinium in Spring or early Summer, only to find they needed several weeks of cold stratification to germinate. There is a long list of seeds which require Cold Stratification such as Delphiniums, Bluebells, Hellebores, Catmint, Evening Primrose, Lavender, Phlox, and Clematis to name a few.
  • Seedlings do not need to be hardened-off, it does this naturally. Once germinated if there is frost or a freeze, you may want to cover the containers with a frost blanket. Be sure to remove it the next morning to avoid overheating and cooking your seedlings.
    • Apparently there is a great debate on whether or not to cover your seedlings in their containers when a frost or freeze is imminent. It’s a bit of work and time with some expense, and a great sad maddening loss if you don’t and they die. Again, be sure to uncover them when the threat is over or if the Sun is bright the next day. This is something you have to get a feel for yourself. In a cold climate they might survive leaving the cover on in a deep freeze, but if the Sun is really bright and the jugs heat up, that could be troublesome. You could use a thermometer to check the temps in your containers if you want to be sure. Some people never cover their jugs and they survive just fine. When in doubt, cover them up for frost or freeze and uncover them for heat (sprouted seeds -“seedlings” only). It is not necessary to cover ungerminated seeds, this is part of the beauty of Winter Sowing!
  • Can be started as early as the Winter Solstice – around December 21st in the Northern Hemisphere, when cooler or cold temperatures are steady. You want to avoid starting them too early when there may be a few days of warm temperatures that will stimulate germination right before the freezing temps of Winter set in. One way to avoid a freak warm-up germination spree when you don’t want it, usually in late Winter or very early Spring, is to place your jugs on the North or shady side of your house or in a shaded area and move them to a Sunny spot when you get close to the desired germination date. I started mine in late December and am placing them on the North side of our house in a protected area where high winds won’t blow them away. I will likely move them to full Sun in late April. I’m in Zone 5.
  • Can be done through April or even May in the colder zones, like 1-6, maybe even 7, where last frost dates are in May and June. Start your hardier, frost tolerant, cool season, seeds in the earlier parts of the Winter and work your way toward Tender Perennials, Annuals and Hot Weather crops such as Tomatoes and Peppers. But there are no hard and fast rules. I planted some Marigolds, an annual, in the depths of Winter and will plant cool season crops such as Broccoli or Spinach right through April and even May. You can gauge what you want to start in the WS method by your growing Zone, the seasonal temps, weather, your time and desired germination dates.
  • Is a fun project for children, home-schoolers and anyone wanting to garden when the weather outside won’t allow any of it.
Clear or translucent containers. Use food grade containers for food seeds. Non-food containers for ornamentals. Wash and rinse well. You will use two salad boxes or two fruit trays together – one as a bottom and one as a top for shallow containers. Goal is 4″ of soil in the bottom and room to grow in the top. If they start outgrowing your container you’ll have to pot them up or transplant them when they get too big.
A soldering iron works well for putting in the drainage holes. Also hot nail, glue gun, wood burning tool, drill, sharp knife. Use caution.
Put several drainage holes in the bottom.
Put a hole or two slightly up from the bottom on the sides. Similar to a purchased flower pot. These holes on the side allow drainage in case the bottom holes get plugged.
Starter hole to insert scissors or cutting tool. 4″ up from bottom.
Utility or heavy duty scissors work well for cutting.
Cut about 4″ (inches) up from the bottom. You need about 4″ of soil. I have cut them shorter in the past or use smaller containers sometimes. Plant shallower rooted plants (like Rockcress or groundcovers) in those. They may need planting out or potting up sooner than the deeper soil ones. I only use the shallow containers to avoid waste and plant as much as possible. For most plants, fruits and vegetables especially, you’ll want 4″ of soil and as many inches to grow as possible.
Leave a hinge if possible. You can cut them all the way around if you prefer. The handle on the milkjug is the best place for the hinge.
Cut and open with hinge.
Cut half gallon jug with 4″ bottom.
Garden markers. Most everything will fade in the Sun. I’m trying these this year for the first time. I’ve tried paint pen, Sharpie, Sharpie Extreme, wax pencil and pencil. Pencil will not fade but does sometimes become a bit unreadable from the dirt smeer that inevitably occurs. Wax or grease pencil is also a good choice and doesn’t fade, but I like to reuse my tags so I like being able to erase them while keeping the number tags permanently readable.
Label, label, label. Bottom, this one will last the best.
Label, side bottom.
Label top.
Label – I try to put them on different sides so the Sun will not fade them all at once.
I’m trying a paper towel in the bottom this year. I do this in my potted plants. I was told by an elder gardener if you put a piece of newspaper in the bottom of a pot “They will never dry out.” This also helps keep out slugs and soil in.
Potting soil or seed starter with potting soil (50/50). Seed starter dries out too fast and does not have what they need to survive well in this method. Pre-moisten your soil. Soil should hold a ball when you squeeze it in your hand but not drip water out.
I use a mortar tray to work in because I’m doing this in the dead of Winter on my table.
4″ plastic labels for numbers. Larger label for plant name. You can also use vinyl mini-blind slats, cut up yogurt bowls or other durable tag. Wooden Popsicle sticks have not worked for me. They rotted and became unreadable.
I number the top and bottom on opposites sides. The side in the dirt will be less likely to fade.
I use a turned up pot or microwave cover (my microwave cover which is better, is MIA in my garden tools, lol) to make work easier and keep the container out of the water that ends up in the tray. This also allows any excess water to drain from the WS container as I work, before putting it outside.
Tool tray from Harbor Freight works great for safely opening seed packets into and prevents losing spilled seeds. Ask me how I know…
A stem from a broken tag makes a good packet opener.
Seeds in tray. I love using this tray for opening seed packets. It holds them safely, I can tap them into a corner and around to the drain spout or pick them out by hand. It has stopped a seed spillage all over my workspace more than once. Any unused seed can be poured back into the seed packet via the spout.
Carrot seeds heavily broadcast. I can use the brownie method or gently separate the seedlings. This is common in WS – heavy seeding. The brownie method of planting out is to cut the soil with germinated seedlings like a brownie and plant the whole piece. When planting you can separate your seedlings, or plant a few and thin later, or plant some together and let nature figure it out. If you sow heavily you will likely have heavy germination and have plenty of seedlings to work with.
Larger Label. I use the garden marker for the main kind of seed and then use pencil for the other info. I found making my labels and inserting them in the jugs helps me at time of transplanting. Because no gardener, ever, said “I’ll remember what this is, I don’t need a tag.” And then forgot. Ask me how I know…
Back of label with jug #, date of planting and other info. I often include days to harvest.
The number label inserted before closing. The name label also goes in.
Spritz seeds in with water. This works better than a spray bottle if doing a lot of jugs. Use a container free of other chemicals or residue. This is from Home Depot and is only used for water.
Dry off the outside of the container before taping. I use a rag towel.
Sealing the containers. I use packing tape. It’s cheaper than duct tape. Doesn’t leave the residue of other tapes. I’ve tried duct, strapping and painters and didn’t like any of them. I tape in pieces about 8 inches, torn off, and overlap rather than trying to roll the whole thing around in one shot. The tape will otherwise tend to fold and curl and you can end up toppling your container trying to manage it all. Ask me how I know…
Spoon for pushing out sides as you tape – from the inside.
Spoon pushing sides so they meet.
Taping starting from the hinge helps line up the sides better. I put a 6-8″ piece on either side of the hinge and then go from there. If you start taping on one side and just go around, you’ll end up pushing or drawing your lid to one side and have a gap. I found placing my two plant markers on opposite sides of the jug also helps keep the top aligned to the bottom, be sure the labels are INSIDE the lid before taping. If you have a hole or gap where you don’t want it, just put some tape over it.
Taped. If necessary I put some at an angle to hold it together better. I’m going to pick these up by the handle and want to be sure they don’t pop open and spill my seeds. Ask me how I know…
Ready to go outside. I use a Lego bucket for carrying them out. You never put the original lid on (unless you’re using it as a top, such as a beverage cup lid). If your container, such as a beverage cup, has a top or you are using two containers together, you must put several drain holes in the top to allow rain and snow to water the plants naturally. The single hole in a milk or juice jug is sufficient for this size.
Info recorded in gardening book. I have the numbers and all info I want written here. I copy the related planting information from the seed packet, date of WS, days to harvest, type of container (because when you get so many and the top label writing fades it can help identify them) and sometimes notes on where in the garden they are to be planted. I will go back and color code with highlighters some info like light requirements or annual vs perennial, anything that makes it easier to manage the planting and care.

4 responses to “Winter Sowing Instructions”

  1. Great info thanks for sharing. Once my cool weather vegas are good size sprouts should I just take top off and let them get taller or plant into garden?

    • Thank you. You can leave them in the containers a bit with the tops off or open, or just plant out. If it’s getting crowded in your containers or too hot, you should move them. I can’t plant all mine when they’re ready so I just open the containers up when it gets warmer or they get big enough. For more delicate plants, maybe let them fully acclimate to full exposure with the tops off, perhaps a few days. I’ve ended up doing that because I can’t plant all at once but I never really thought of it as necessary because they are already hardened off. Cool season crops are pretty hardy. However, there is greater cosmic radiation infiltration into our atmosphere because of the current solar and magnetic pole cycles we’re in, and over the last few years there has been increased reports (I’ve had it too) with plants getting scalded or burned or drying out. I personally would let them sit a few days in full exposure (lids off or open) to let them get used to full sunshine and wind.

  2. Do you mind if I quote a few of your articles as long as I provide credit and sources back to your webpage? My blog is in the very same niche as yours and my visitors would definitely benefit from a lot of the information you provide here. Please let me know if this okay with you. Cheers!

    • Thank you for asking. Please share! I learned from others and some of my own experience and am just passing it along. Anything we can do to help others grow is good. Post the link to your page, I’d love to check it out.

Leave a Reply to Blazing Proxy Cancel reply

Your email address will not be published. Required fields are marked *